VOIDLIGHT SURVIVOR · BEGINNER GUIDE
Survive five minutes by moving with a purpose
Voidlight Survivor fires for you, but it does not play for you. Your decisions are where to stand, which gap to take, when to spend an escape, and how to turn three upgrade choices into one coherent build. This guide explains the complete run from the opening shard to the final Warden.
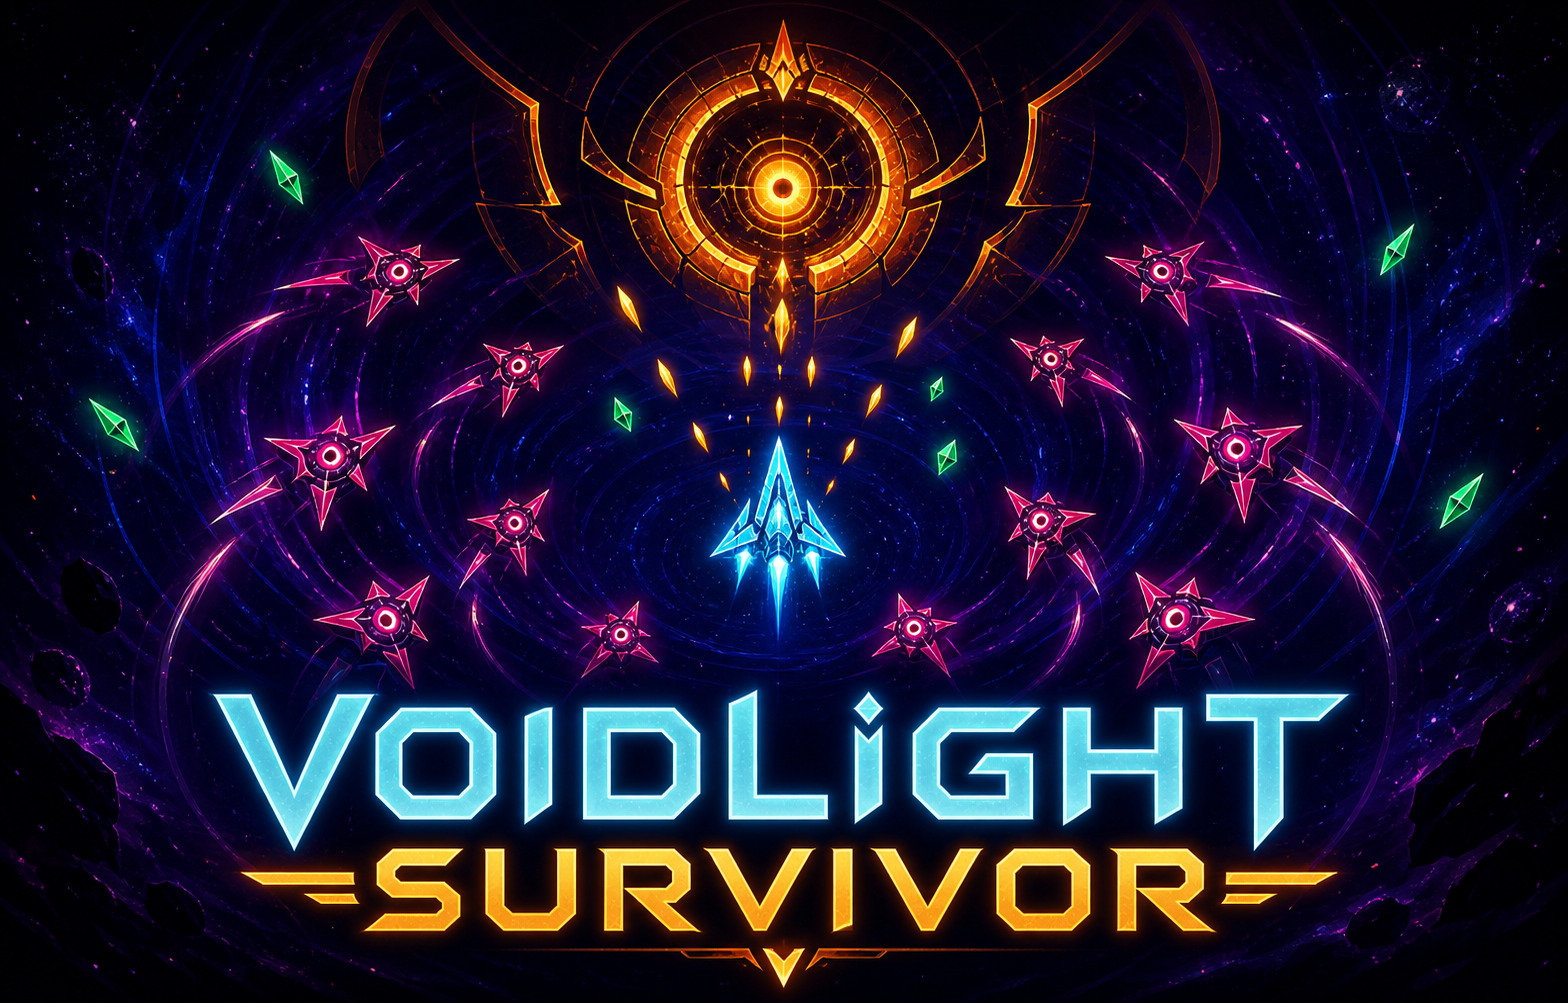
Your real weapon is movement
Use WASD or the arrow keys on desktop. On a phone, place your left thumb on the lower-left play area and drag the virtual joystick. Auto-fire targets nearby threats, so constant pursuit is unnecessary. Move in broad, controlled arcs around the open part of the arena and let enemies gather behind you.
Avoid hugging a wall for long. A wall removes half of your escape directions and makes a fast enemy more dangerous than its damage suggests. When a crowd starts closing a lane, cross the centre before the opening disappears. Small corrections are safer than frantic reversals because they keep the enemy pack predictable.
Collect shards after creating space
Defeated enemies leave green shards. Shards provide experience, and every level gives a choice of three upgrades. Do not dive into the middle of a pack for one shard. Circle the group, wait for the trail to become accessible, then sweep through several pickups in one pass. Early levels arrive quickly, so the first safe cluster matters more than perfect collection.
At level two you choose a starting weapon. Later weapon choices can improve an owned weapon, while utility upgrades can increase fire rate, durability, pickup reach, or ability synergy. A focused weapon at a higher level is usually more reliable than three weak ideas competing for upgrades.
Choose a weapon that matches your movement
- Arc Array: wide shots and chain lightning reward fighting a packed group at medium range.
- Rail Lance: larger piercing projectiles reward lining enemies up behind one another.
- Orbit Blades: close-range blades protect sweeping pickup runs but require more confident movement.
Arc Array is the easiest first build because it converts a dense chasing pack into extra hits. Rail Lance is strongest when you guide enemies into a narrow column. Orbit Blades can rescue close encounters, but they are not permission to stand still. Choose one plan early, then prefer upgrades that strengthen that plan.
Dash through danger, not into it
Dash moves the ship rapidly in the current input direction, damages enemies along the path, and grants a brief moment of safety. On desktop, press the Dash control while holding a direction. On mobile, keep the joystick aimed toward an open lane before tapping Dash. The destination matters more than the damage.
Save Dash for a closing ring, a blocked corner, or a Warden pattern that removes your normal route. Dashing into an unexplored edge can trade one collision for another. Look through the crowd, choose empty ground, and cross the thinnest part of the formation.
Charge Nova only when the arena allows it
Nova becomes available after five kills. Hold its button to charge a larger, stronger blast, then release to damage and push away nearby enemies. Charging reduces your freedom to react, so begin only when you have a clear second of space. A quick release is correct when survival matters; a full charge is valuable when a large pack is already inside the expanding range.
Dash and Nova solve different problems. Dash relocates you through one weak point. Nova changes the space around you. Do not spend both on the same ordinary group. Keeping one ability ready gives every risky shard sweep an emergency exit.
Prepare for Wardens at 90, 180, and 270 seconds
Wardens arrive three times during the five-minute run. About ten seconds before each arrival, move away from the wall, finish the safest nearby shard sweep, and avoid spending Dash on a minor enemy. Entering the fight with open ground and an ability ready is more valuable than one extra pickup.
During a Warden encounter, keep ordinary enemies on the same side as the boss whenever possible. This lets piercing shots, chain lightning, and Nova affect the whole pressure group. If enemies split around you, cross an open lane early and rebuild a single chasing pack.
A dependable first-run plan
- Move in a wide circle and collect the first safe shard cluster.
- Choose Arc Array for the simplest beginner build, or a weapon that fits your preferred spacing.
- Strengthen the same weapon before collecting unrelated bonuses.
- Use Dash to reach empty ground and Nova to clear space around the ship.
- Keep one active ability ready as each Warden timer approaches.
- After a defeat, change one decision—your route, ability timing, or build—instead of repeating the run blindly.
Play the current early-access build
The standard run is ideal for learning controls and upgrade interactions. Daily Void uses a shared seed, so every player receives the same starting conditions and can compare routes and build choices fairly.
PLAY VOIDLIGHT SURVIVOR →